

Build recipes
Inventory → Recipes lists every recipe with cost, menu price, and food-cost % against your goal.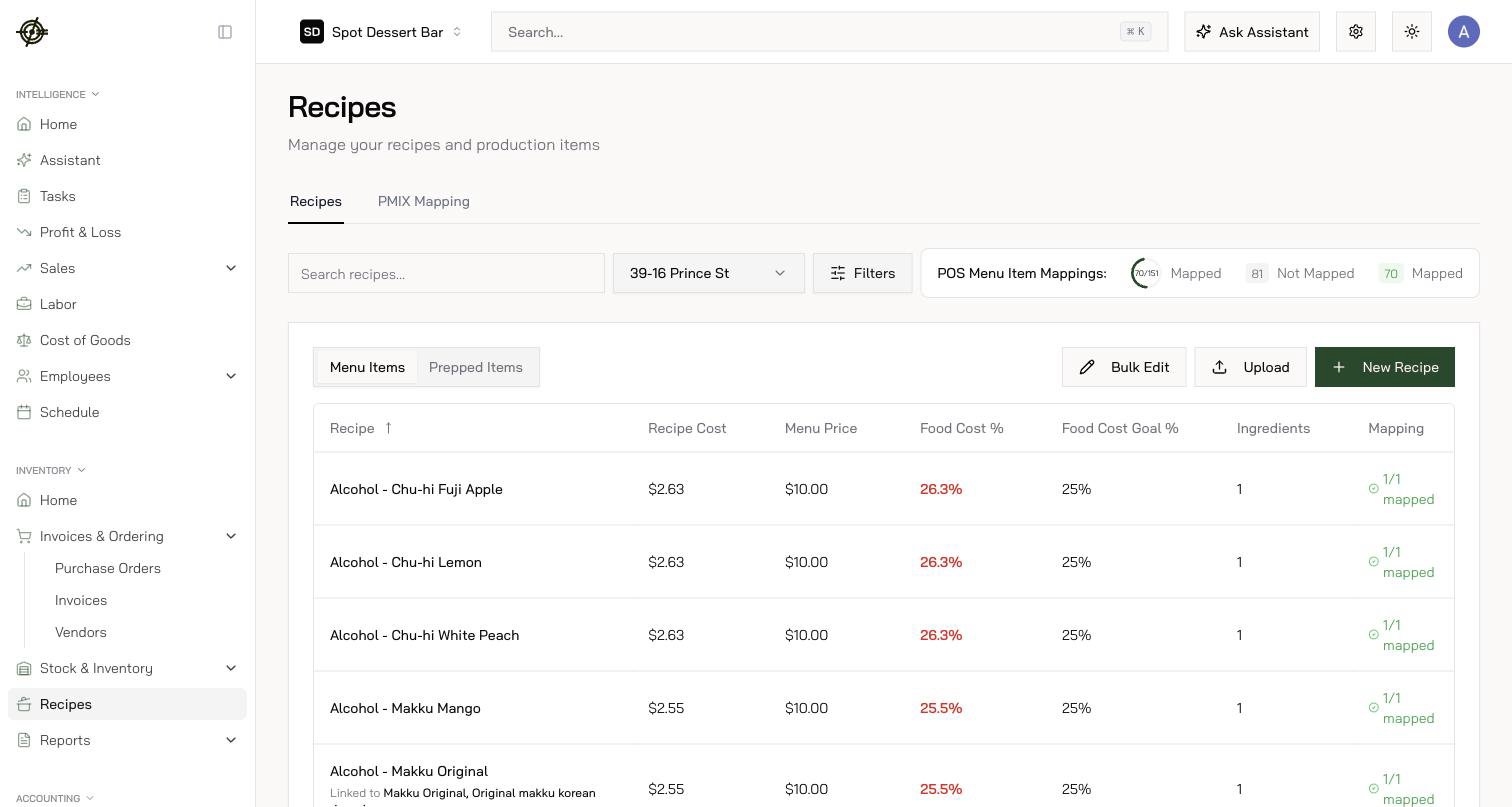
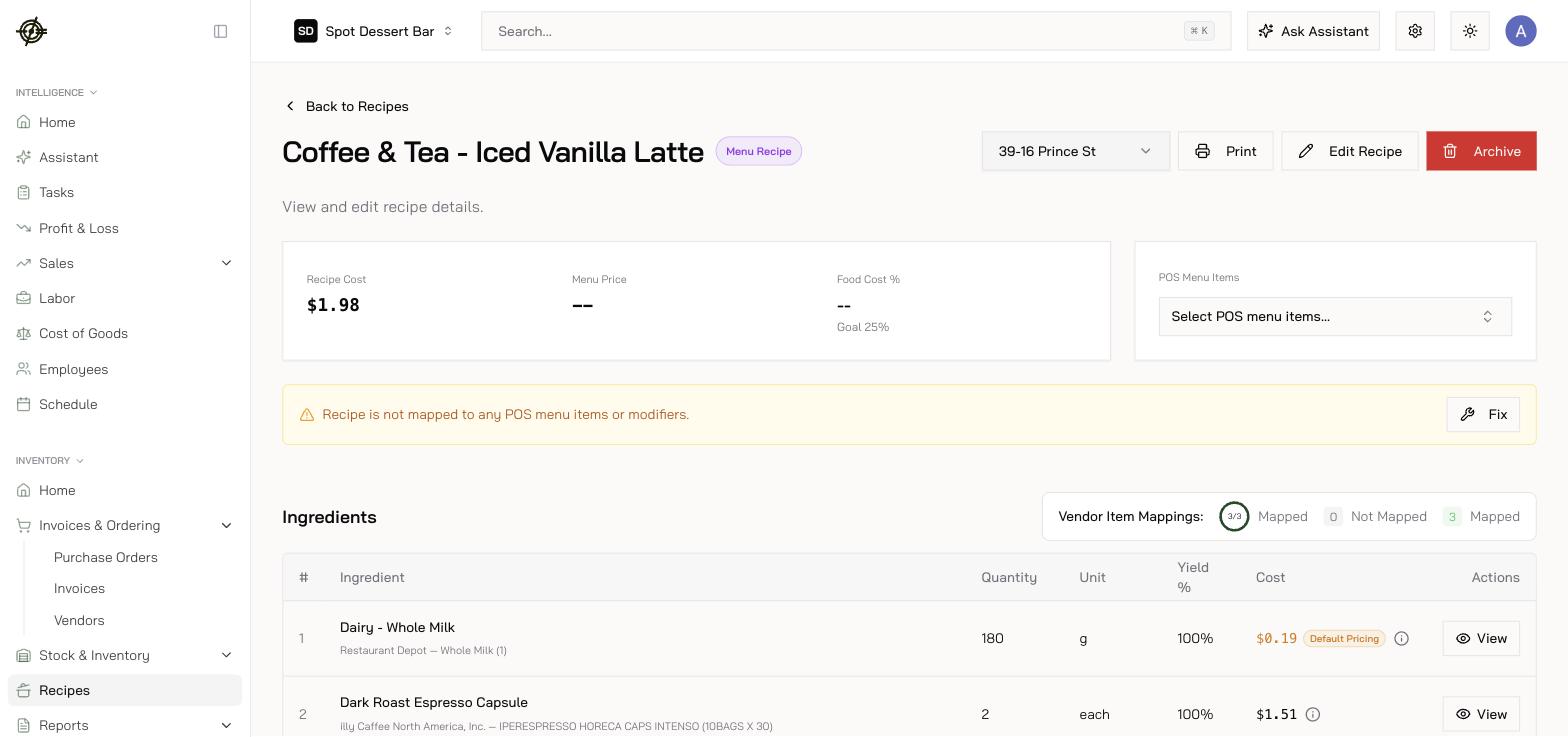
- Add ingredients in real kitchen units; Garde prices from live, invoice-backed item costs — one recipe at a time or the whole book at once.
- Set a Goal Food Cost % per recipe so actual is always measured against intent — that’s the red/green food-cost % on the list.
- Sub-recipes: batch recipes (sauce, dough, broth) can be ingredients in other recipes. Build bottom-up — prep first, then menu items.
- Give batch recipes a yield so Prep & Batches and costing can convert batches to units.
Map recipes to your POS
A recipe only depletes inventory when sales reach it. Link each recipe to its POS item(s) — Garde suggests likely matches, and a per-link scale factor handles half portions and doubles — then cover variations with modifier rules, not duplicate recipes:- Keep one base recipe per POS item.
- Model sizes, temps, milks, toppings as modifier mappings that add or swap ingredients when the modifier sells (oat milk → +4 oz oat, −4 oz whole).
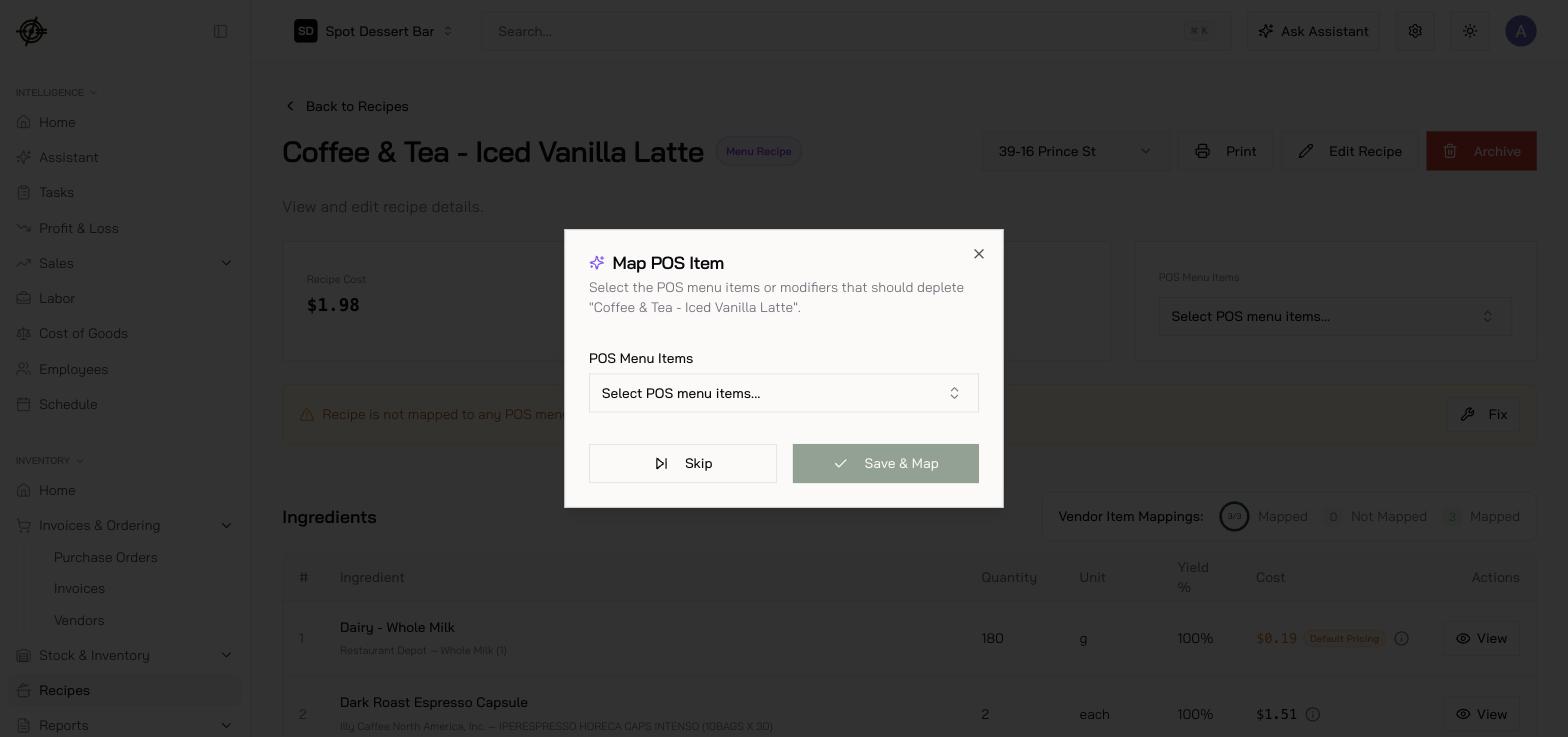
PMIX Mapping
Recipes → PMIX Mapping shows every POS menu item and whether it’s linked. Unmapped items sell without depleting anything — they inflate “savings” variance and hide real waste. Work it to zero after every menu change.Menu-item mapping lives here, under Recipes. The Employees → POS Mappings page is different — it links POS employee records to people, for labor reporting.