Get invoices in — two ways
The easy way — email. Every location has its own Garde invoice address (press New Invoice to see and copy it). Give it to vendors or forward invoices to it and they’re ingested automatically — Garde marks it Recommended for a reason. One rule: each emailed file is treated as one invoice, so combine multi-page invoices into a single file before sending.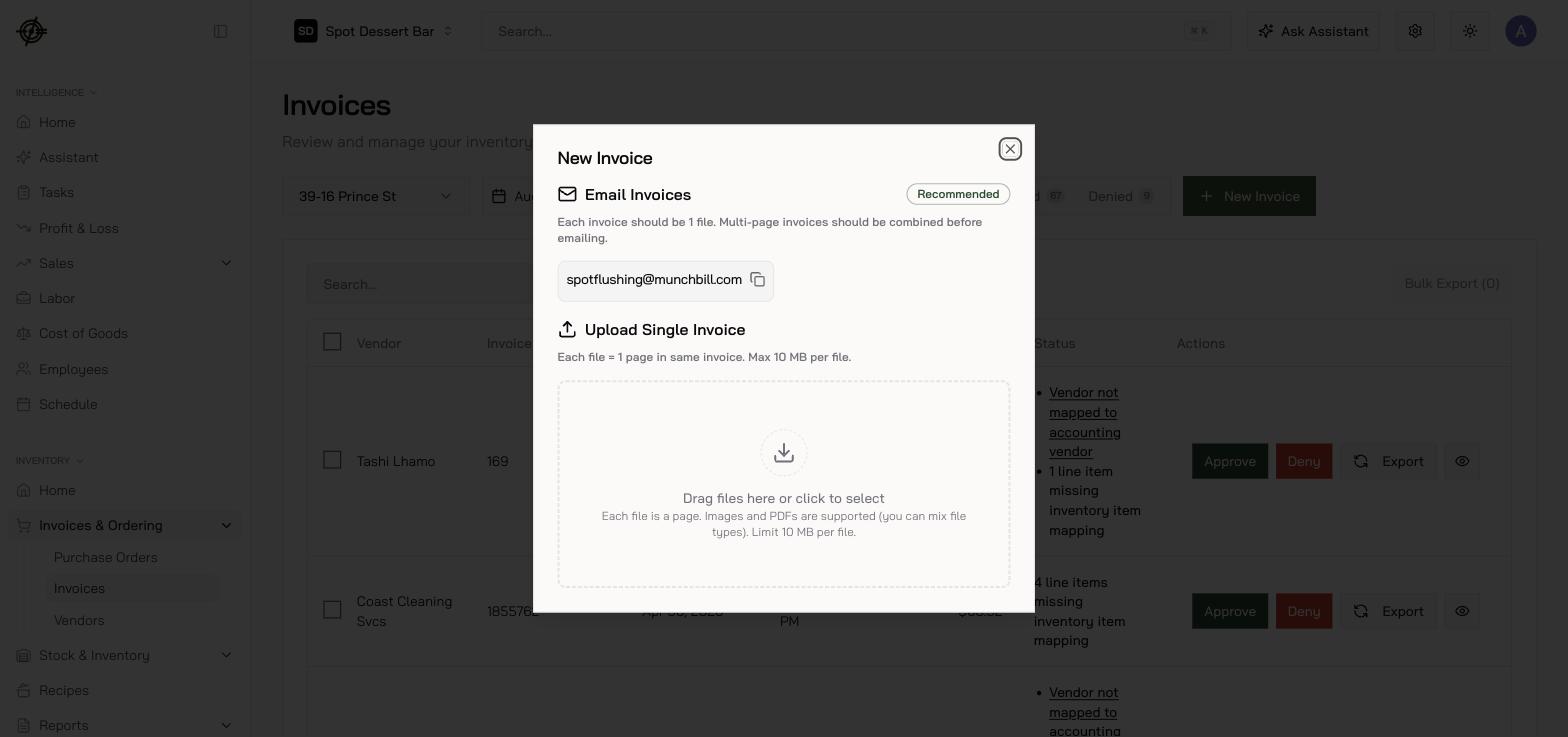
- On the dashboard, go to Inventory → Invoices & Ordering → Invoices.
- Press New Invoice and drop the invoice pages into Upload Single Invoice — phone photos or PDFs, max 10 MB per file and 20 MB per invoice.
- Keep one invoice per upload. Multi-page invoice? Every page goes in the same upload — each file counts as one page.
Review
Uploads show as Processing (about a minute), then land in Needs Review.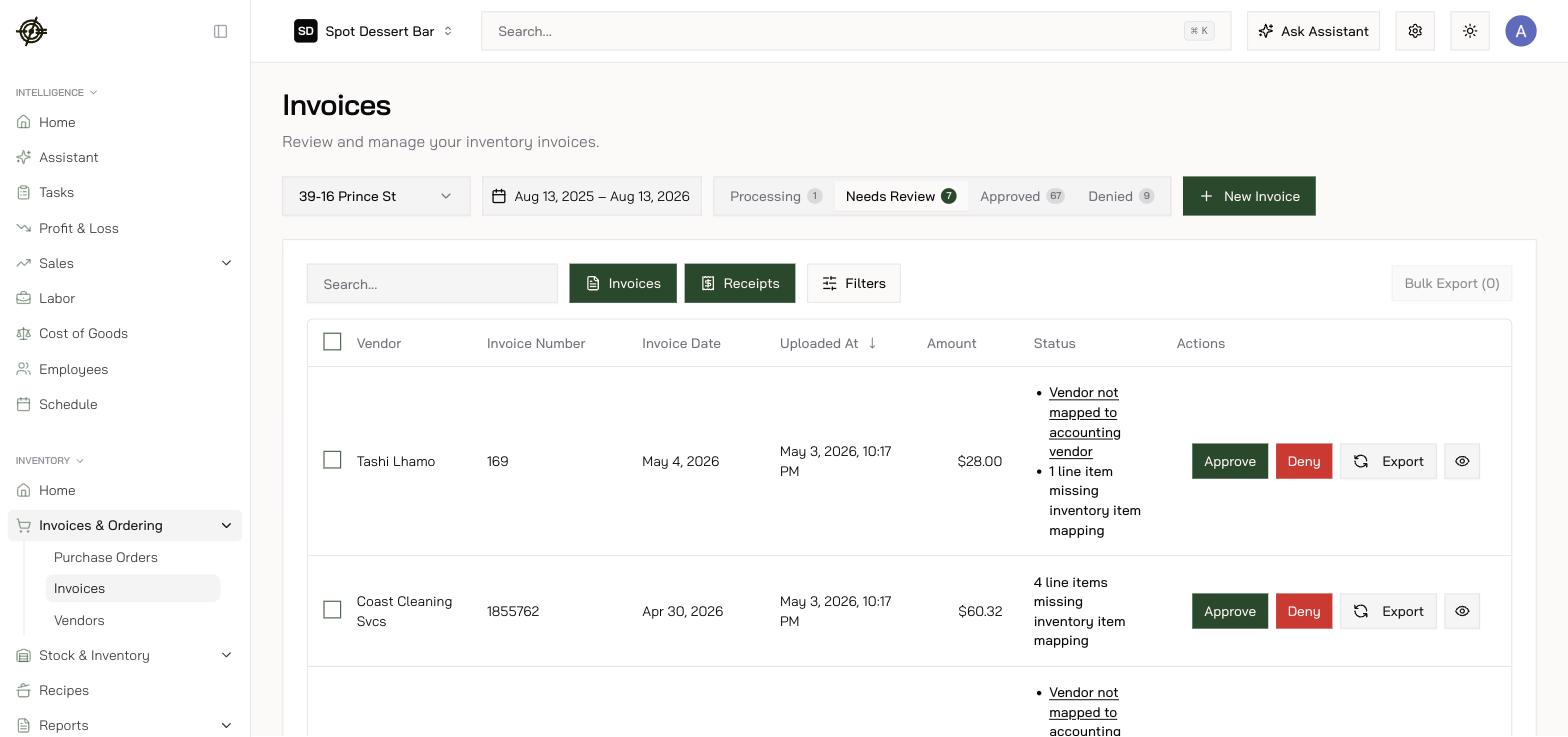
- Open an invoice in Needs Review. Reviewers without accounting access get the guided Tour — one line at a time; accounting users land in the full List View table.
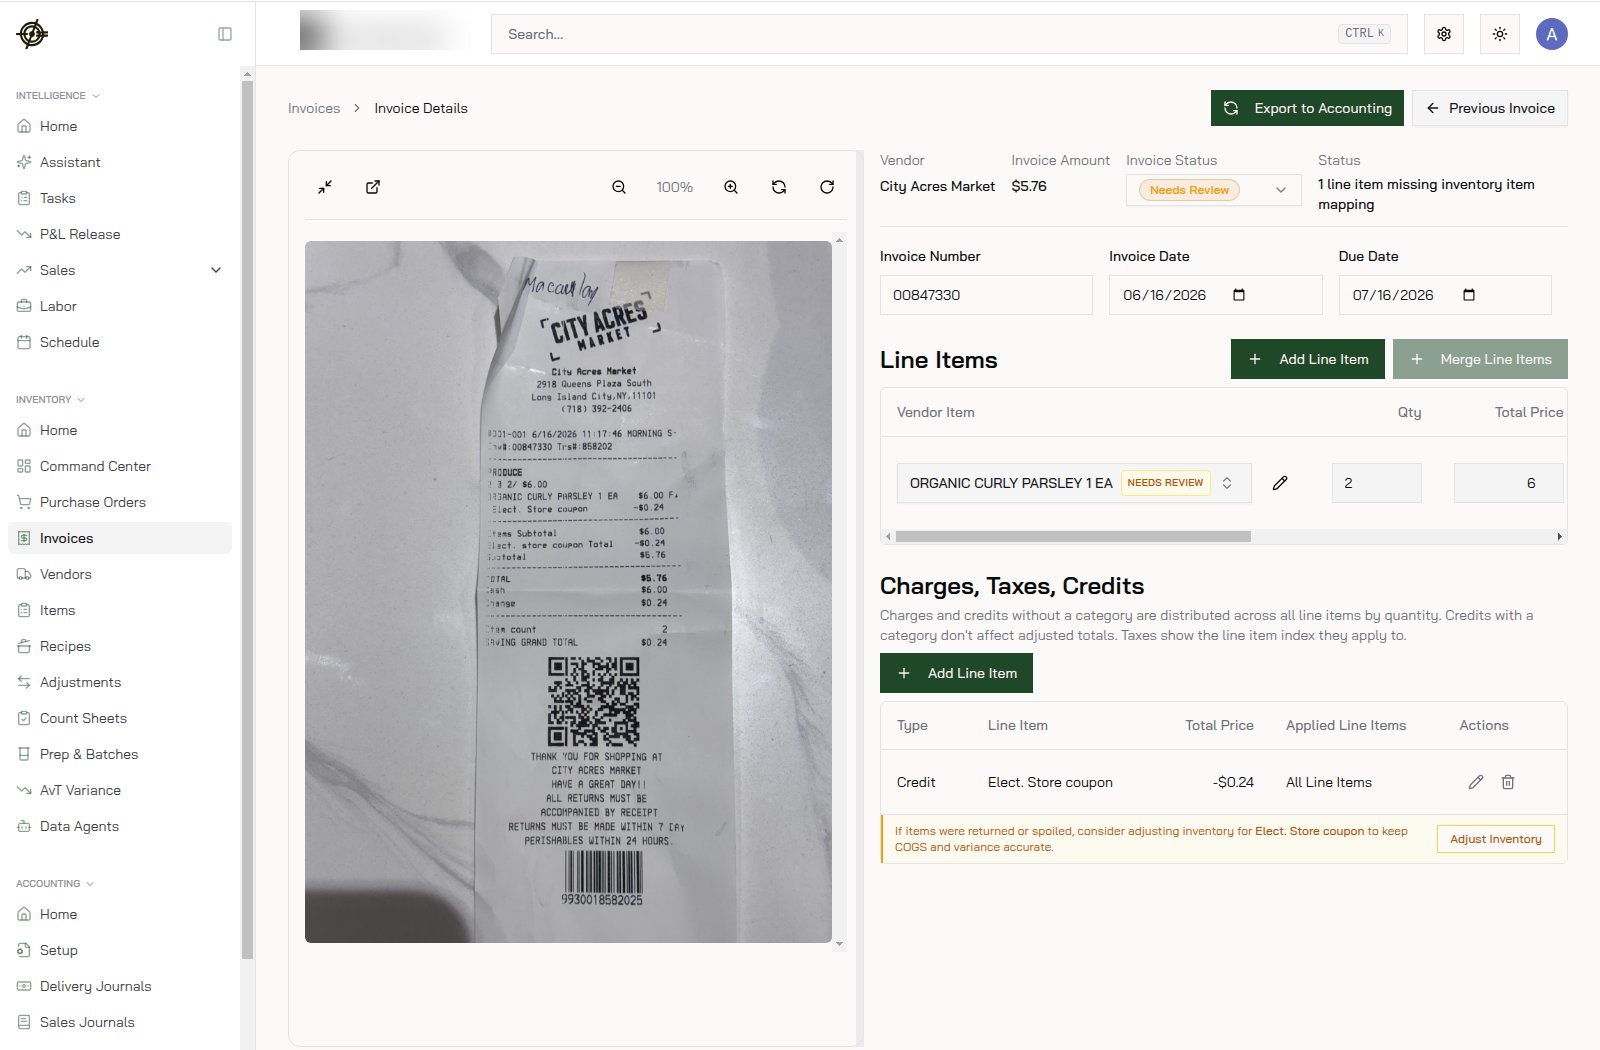
- Confirm Vendor, Invoice Number, Invoice Date, Due Date.
- Answer Record items individually or merge into one? — choose Keep items separate for anything you stock (almost always). Merge into one item is only for quickly booking a service or non-COGS expense like pest control or rent.
- Check each line’s match to a vendor item; fix quantities and prices. Lines marked Needs Inventory Item aren’t linked yet — link them or the purchase can’t deplete or cost anything. Mixed case on one line? Correct the quantity and press Add Line Item to split it across items. Wrong pack size? Edit Packaging asks whether the product comes in one size or two — fix it everywhere (past invoices recost automatically) or add a second pack size and move old invoice lines onto it.
- Watch the price-change warnings — compared against what this location last paid, with a Previous Invoice link (View Source Invoice in the Tour) jumping to the exact past purchase.
- Confirm the line-item total matches the invoice total; add missing lines, discounts, taxes, refunds.
- Approve — or deny (the uploader is emailed automatically). Only approved invoices move stock and feed costs; approved ones export to accounting as bills, and anything blocked names exactly what’s missing.